
While you are here – please check out my home page!

14-14 Class 6 ‘Produce Drawings’ CAE Class – Certificate 111 in Visual Arts – Class room scene where students are busy at work producing drawings for their portfolios. Featuring in the foreground drawings produced by Karen Robinson during class 6 session. Photographed by Karen Robinson Aug 2016. NB All images are protected by copyright laws
INTRODUCTION
My 6th class in ‘Produce Paintings’ and ‘Produce Drawings’ (these being subjects that are part of ‘Certificate III in Visual Arts’) was once again another day full of creative adventures! There was a change in teachers from our usual ones, which meant we got to experience their different approaches to art making. Each week, I have also been taking a set of Flinders/Degraves Streets photographs with my Galaxy 6 Samsung mobile phone for my blog and can be found at the end of each blog about my painting and drawing classes. It adds to my day’s creative experience – art for therapy I do believe and good for the sole…
NB: To view my blogs on previous classes, please click on the given links here – Class es 1, Classes 2, Classes 3, Classes 4, Classes 5. In relation to this week’s classes 6 for ‘Produce Paintings’ and ‘Produce Drawings’ – please scroll down below to view.

12-12 Class 6 ‘Produce Paintings’ CAE Class – Certificate 111 in Visual Arts – View of students engaged in their creative projects. Photograph taken by Karen Robinson Aug 2016. NB All images are protected by copyright laws
‘PRODUCE PAINTING’ CLASS
Our ‘Produce Painting’ class commenced with our teacher, CHRIS PITTARD, checking in with each of the students individually. This being my 6th class, I am now feeling more comfortable within what has been a new experience for me. Each painting class presents me with an ongoing challenge, to see if I can paint in oils, some sort of recognisable object.
UNDERSTANDING THE 3 OIL PAINTING RULES
Before getting started Chris talked about the process of working with oil paint – the ‘Lean to Fat’ rule. About the building up of layers of colour, and how oil painting rules need to be considered in order that the artist finishes up with a painting, that will not be spoiled by ignoring such rules. During the process of researching for more information about the ‘Lean to Fat’ rule, I found on Winsor & Newton’s website a concisely written piece on understanding the 3 oil painting rules and is here below:
- Fat Over Lean: Each successive layer needs to be more flexible than the one underneath. This can be done by adding more medium to each successive layer, which makes each new layer more flexible than the previous one and stops the painting from cracking. Think of the rule as ‘Flexible over Non-Flexible’. Winsor & Newton has a range of mediums to help create this flexibility within layers. One of the most commonly used mediums is Liquin Original and by using it, there is no need to keep on adding oil to your colour (Winsor & Newton 2016).
- Thick Over Thin: When painting with heavy colour, it is best to apply thick layers over thin layers, this is because the thin layers dry quicker. For example if you like the impasto style of the Impressionists with their thick bold brush strokes than it is important to remember that these thick layers need to be upper most – thin layers on top of impasto layers are likely to crack (Winsor & Newton 2016).
- Slow Drying Over Fast Drying: It is best to use fast drying colours continuously as under layers. If a fast drying layer is applied on top of a slow drying layer then your painting may crack. This is because the fast drying layers will have dried on top of layers that are still in the process of drying out, and as the slow drying layers dry, they will pull and twist those (fast drying) layers above causing them to crack (Winsor & Newton 2016).
MY ‘PRODUCE PAINTING’ CLASS PROJECT

2-12 Class 6 ‘Produce Paintings’ CAE Class – Certificate 111 in Visual Arts – My chosen object to paint in this particular ‘Produce Painting’ class. It is a hand crafted wooden box which I had purchased for my son many years ago as a Christmas present. I had rediscovered this box within his belongings as we collected them from his home in Bendigo, just after he had been killed in a single vehicle car crash on the 5th November 2009. It is very precious to me, and on the morning of this class I came across it again, and thought that I will try to give it a go at painting it in class. Photograph taken by Karen Robinson Aug 2016. NB All images are protected by copyright laws
- The above object I chose to paint at this particular ‘Produce Paintings’ class – was a hand crafted wooden box that I had stumbled over earlier in my day before heading off to class. The wooden box was a gift I gave my son many years ago, and therefore holds much sentimental value for me. So I thought I would bring it along and give it a go at trying to do an oil painting of it!


- After examining the wooden box more closely, I realised that just trying to match up the colour combination was going to be a real challenge. I also realised that this was not going to be an easy painting task and thoughts came to mind “why did I think I could paint this object, as it looks so challenging for someone like me, whom has not ever before painted in oils – real life objects”. I paint abstraction and seems much easier for me! “So why, why, why am I doing this” was my question but my response to self was that I needed to be a brave little artist and just get on with the task at hand, which is what I did.

6-12 Class 6 ‘Produce Paintings’ CAE Class – Certificate 111 in Visual Arts – Out line of wooden box in readiness to start applying oil paint to the sketch image. Painted and photographed taken by Karen Robinson Aug 2016 NB All images are protected by copyright laws
- After consulting with my teacher about the best way to start, I started with a monotone painting approach at first. Using my smaller brush as a pencil and using a little lean with a small amount of diluted paint, I sketched in a rough outline of the wooden box onto my canvas paper, which I had previously tapped onto an artist board held up by an artist easel. Viewing the drawing, I could see that something was not quite right, but I could not work out what it was at the time. Undeterred, I pushed on with the next step – preparing my colour palette and applying actual oil paint to the canvas paper.

8-12 Class 6 ‘Produce Paintings’ CAE Class – Certificate 111 in Visual Arts – Colour Palette used to paint the wooden box. Photograph taken by Karen Robinson Aug 2016 NB All images are protected by copyright laws
- My colour palette consisted of the following colours in the hope that I would be able to mix colours that would somehow resemble the colours on the wooden box. First up was (1) Raw Umber and then some (2) Burnt Sienna and then added Spectrum Red, Spectrum Blue, and Spectrum Yellow. I wasn’t able to achieve the exact colours, but I was able to develop a balance of colour, that gave my painting some sort of wooden box representation.

7-12 Class 6 ‘Produce Paintings’ CAE Class – Certificate 111 in Visual Arts – Title: ‘Ben’s Wooden Box’ on A3 Canvas Paper in Oil Paint – AS Art Spectrum, Winsor & Newton and Old Holland Oil Classics Paints. Painted and photographed by Karen Robinson Aug 2016. NB All images are protected by copyright laws
PAINTING VANISHING POINTS
- Above is the finished painting of Ben’s Wooden Box and I was reasonably pleased considering my limited experience painting with oils and real life objects. At least it looks mostly like the wooden box! My painting teacher said it wasn’t a bad effort which I appreciated hearing. Chris then went onto helping me understand what I couldn’t recognise as a problem with my original sketching out of the object. It was to do with my vanishing points of the object I had drawn. He kindly sketched up the below illustrations to assist me in understanding how important it is to take vanishing points into account with sketching up objects like mine, which had two vanishing points to make things just that little more complicated. Chris also explained the benefit of working with oil paint, that being you can go back whilst the paint is still wet and scrape off paint and/or smug the paint with a rage, if an artist is not happy with part of his/her oil painting art work. In order to try to fix my vanishing points painting problem, I went about doing a bit of wiping off which worked to some degree. I decided not to do too much, due to the time frame available in class and my desire not to completely destroy what I had achieved already. Hopefully there will be many more paintings to come where I can work on my vanishing points!


‘PRODUCE DRAWING’ CLASS
Our ‘Produce Drawing’ class commenced after our lunch break. This gave me a chance to recharge after the ‘Produce Painting’ class. The teacher, TOBY DUTTON, set us up immediately with a new drawing task. Once again I was faced with the challenge of creating an image on a blank sheet of paper!
MY ‘PRODUCE DRAWING’ CLASS PROJECT

1-14 Class 6 ‘Produce Drawings’ CAE Class – Certificate 111 in Visual Arts – Blank sheet of Hahnemuhle Sketch 220 gsm paper, 40cms x 53cms in readiness to start a new drawing for the day in class. Photograph by Karen Robinson Aug 2016 NB All images are protected by copyright laws
- Firstly, Toby carried out a charcoal drawing demonstration on what we were to do ourselves, which involve the following processes:
1. Grab a piece of ‘Putty’ rubber and set aside ready for use.
2. Set up a sheet of drawing paper.
3. Select an image from the selection that Toby had brought in with him to class.
4. Grab a large piece of black charcoal.
5. Rub the broad side of the charcoal over the surface of the drawing paper until well covered.
6. Take a look at the image chosen by self and look for the highlights – the parts of the image that are white.
7. Using the ‘Putty’ rubber, rub and lift off the black charcoal, leaving behind white paper.
8. Using a white Conte Crayon mark in some white highlights as seen on image.
9. Using a thin Winsor & Newton Artists’ Charcoal – Willow Black, mark in some of the black shadowing as seen on the image.


- Featured below is a YouTube which nicely shows the processes we basically used during our ‘Produce Drawing’ class to create our charcoal drawings.
- Below here are my charcoal drawings that I created during this particular class, using the teacher demonstrated step by step processes.
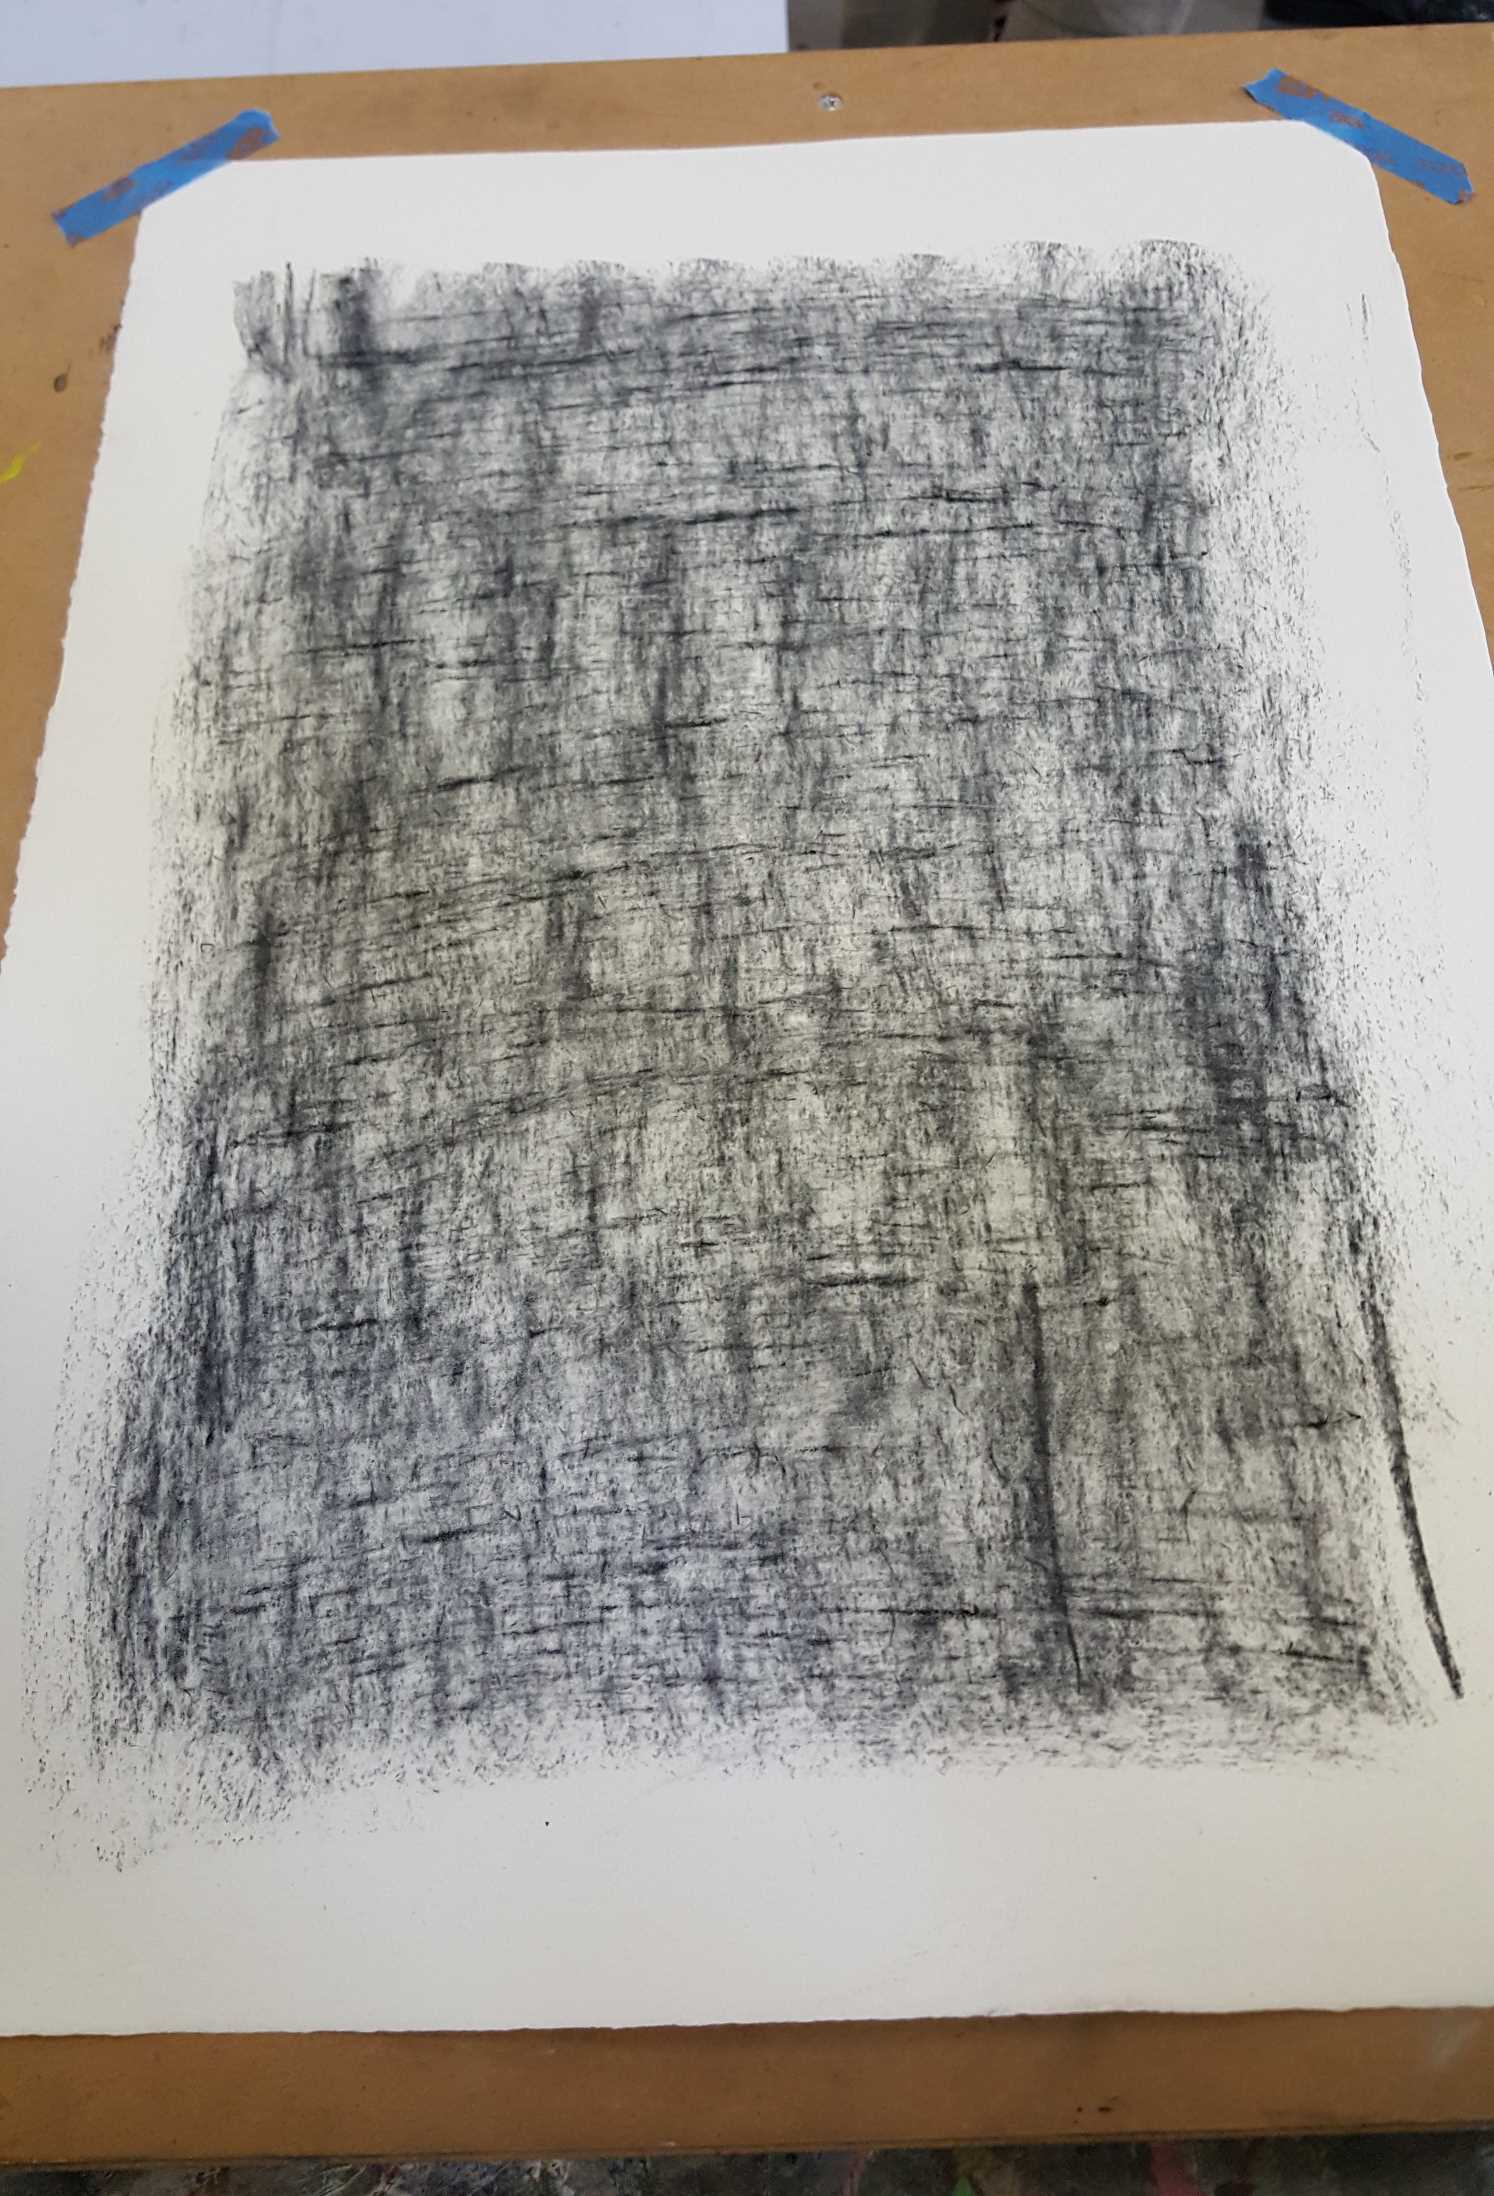
6-14 Class 6 ‘Produce Drawings’ CAE Class – Certificate 111 in Visual Arts – Layers of charcoal dragged across in different directions to cover a section of the drawing paper. Drawing and photographed by Karen Robinson Aug 2016. NB All images are protected by copyright laws


- This intriguing drawing process had me creating an image I wouldn’t have thought possible! Even though I was very apprehensive about my ability to achieve an acceptable result, I was pleasantly surprised and pleased with the outcome.

10-14 Class 6 ‘Produce Drawings’ CAE Class – Certificate 111 in Visual Arts – Title: ‘Copy of a Drawing of Man Walking’ on Hahnemuhle Sketch & Drawing 220gsm paper, 40cms x 53cms using Winsor & Newton Artists’ Charcoal – Willow Black and Conte Crayons in White and Black. Drawing and photographed by Karen Robinson Aug 2016. NB All images are protected by copyright laws
- We were then asked to commence another charcoal drawing and I chose an image that featured a man wearing a robe with numerous folds of fabric. The light and shade that could be seen in the image, gave me a wonderful opportunity to see if I could replicate what I could see. Once again I was surprised and pleased with my results.

11-14 Class 6 ‘Produce Drawings’ CAE Class – Certificate 111 in Visual Arts – Preparing Derwent Visual Diary A3 cartridge paper 110gsm with a rub of Winsor & Newton Artists’ Charcoal – Willow Black. Drawing and photographed by Karen Robinson Aug 2016. NB All images are protected by copyright laws

12-14 Class 6 ‘Produce Drawings’ CAE Class – Certificate 111 in Visual Arts – Titled: ‘Copy of Man in Robe’ on Derwent Visual Diary A3 cartridge paper 110gsm using Winsor & Newton Artists’ Charcoal – Willow Black and Conte Crayons in White and Black. Drawing and photographed by Karen Robinson Aug 2016. NB All images are protected by copyright laws
- Once home I sprayed my charcoal drawings with a ‘workable fixative‘, a colourless protection for pastel, chalk, charcoal and pencil drawings. This helps to reduce smudging of these types of art works.

13-14 Class 6 ‘Produce Drawings’ CAE Class – Certificate 111 in Visual Arts – Both charcoal drawings achieved within class ‘Produce Drawings’ No. 6. Drawings and photographed by Karen Robinson Aug 2016 NB All images are protected by copyright laws
‘PRODUCE DRAWINGS’ VISUAL DIARY
At home, over a number of days before this particular drawing class, I did a couple of drawings in my ‘Produce Drawings’ Visual Diary. I chose to sketch a plant that was sitting outside in my back garden under the pergola and concentrated on a set of leaves and a flower on a stem.

1-3 Visual Diary Drawings at home studio – Title: ‘Flower on Stem’ on drawing paper 20cms x 29.5cms with pencil. Drawings & photographed by Karen Robinson Aug 2016 NB All images are protected by copyright laws

2-3 Visual Diary Drawings at home studio – Title: ‘Plant Leaves’ on drawing paper 20cms x 29.5cms with pencil. Drawings & photographed by Karen Robinson Aug 2016 NB All images are protected by copyright laws

3-3 Source of inspiration for Visual Diary Drawings at home studio – Photographed by Karen Robinson Aug 2016 NB All images are protected by copyright laws
CONCLUSION
Am always feeling very fortunate in being able to participate in these painting and drawing classes. My early morning train journey into the heart of the city of Melbourne via Flinders Street Station and being able to soak up the ambiance of Degraves Street itself during my class break very much adds to the overall pleasure of the day’s creative outcomes. Art for therapy at its best for sure….

10-15 Degraves Street Coffee Shop, Melbourne, Australia – Where I decided to stop and have a coffee and tart before commencing my day’s ‘Produce Paintings & Drawing’ Classes. Photograph taken by Karen Robinson August 2016 NB All images are protected by copyright laws


CAE is located in one of Melbourne’s iconic cafe/outdoor dining locations – DEGRAVES STREET as photographed above. Degraves Street’s bluestone-cobbled lane way, its postcard Parisian atmosphere of outdoor dining under umbrellas, and its quaint retail shops, certainly makes attending CAE’s art course each week just that much more of an enjoyable experience!

13-15 Degraves Street – “Grilled” Melbourne, Australia – Where I decided to pick up a ‘healthy burger’ for lunch during my break between ‘Produce Paintings’ and ‘Produce Drawings’ classes. It was very yummy! Photograph taken by Karen Robinson August 2016 NB All images are protected by copyright laws
© Karen Robinson – September 2016
Whilst you are here – please check out my home page! Post-traumatic Growth – My Art Therapy Journey – A window into the soul of an Abstract Artist through art therapy and storytelling…by Karen Robinson
